Belmont Setup Guide
This is the setup guide for Belmont, a business theme for WordPress.
 The "posts page" can be blank.
If you prefer, these settings can also be adjusted in Customize → Static Front Page.
The "posts page" can be blank.
If you prefer, these settings can also be adjusted in Customize → Static Front Page.
 Also note the "button" class used on the anchor element, if you would like some sort of button in this section too.
Once that's done, we can start filling out the rest of the homepage.
Also note the "button" class used on the anchor element, if you would like some sort of button in this section too.
Once that's done, we can start filling out the rest of the homepage.
 Each section pulls content from an existing page on your WordPress site. These can be set in Customize → Theme Options.
In addition to selecting which page to pull content from, section style can be selected from four available options:
Each section pulls content from an existing page on your WordPress site. These can be set in Customize → Theme Options.
In addition to selecting which page to pull content from, section style can be selected from four available options:
 These styles will be ignored if the page is using the Testimonials template or Grid template, which we'll cover in our "demo site homepage breakdown" below.

 On the demo site, we just copied the same page six times. They should look like this in the backend:
 Note that the "Default Template" is selected for child pages, and the "Grid" page is selected as the parent page.
When you're done, the document tree should look like this in the backend:
Note that the "Default Template" is selected for child pages, and the "Grid" page is selected as the parent page.
When you're done, the document tree should look like this in the backend:

 Any content on the page itself will be ignored when used as a homepage section.
 This is good for a tiny blurb of text, like a phone number.
 Note that the footer widgets are flexible, and if no sidebar widgets are present, a one column layout will be used.
Also note that the sidebar widget area is never displayed on the front page template.
Note that the footer widgets are flexible, and if no sidebar widgets are present, a one column layout will be used.
Also note that the sidebar widget area is never displayed on the front page template.
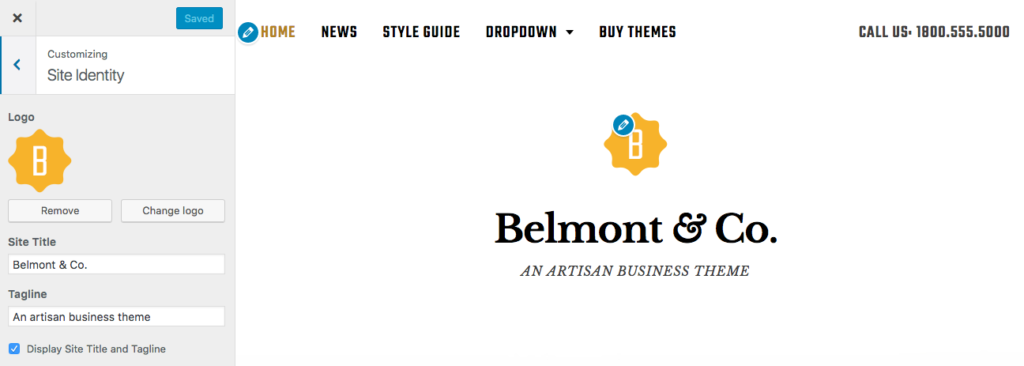 Upload your logo in Customize → Site Identity.
 A single post with author and featured image not displayed.
[/caption] Note that on our demo site, the "Blog Display" setting is set to "Post excerpt" and not "Full post."
Homepage Setup
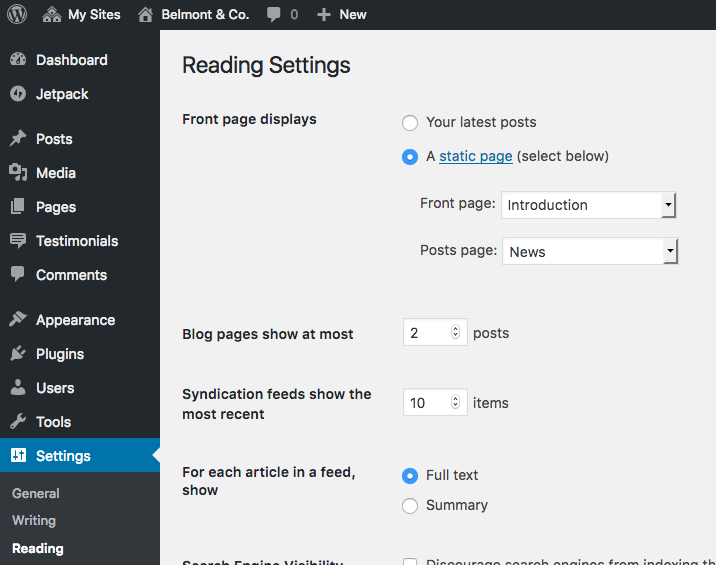
Belmont features a homepage template, comprised of pages that already exist on your WordPress site. This makes your content highly portable!Step 1: Adjust Reading Settings
To get started with the homepage setup, you'll need to create two pages in Pages → Add New. One will be designated as your "front page" and the other your "posts page. On our demo site, these pages are called "Introduction" (front page) and "News" (posts page).
The "posts page" can be blank.
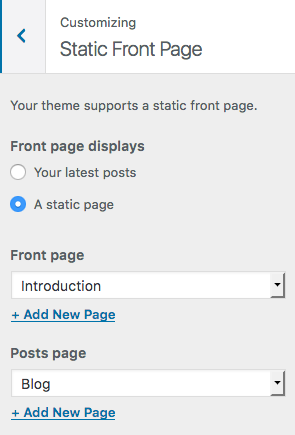
If you prefer, these settings can also be adjusted in Customize → Static Front Page.
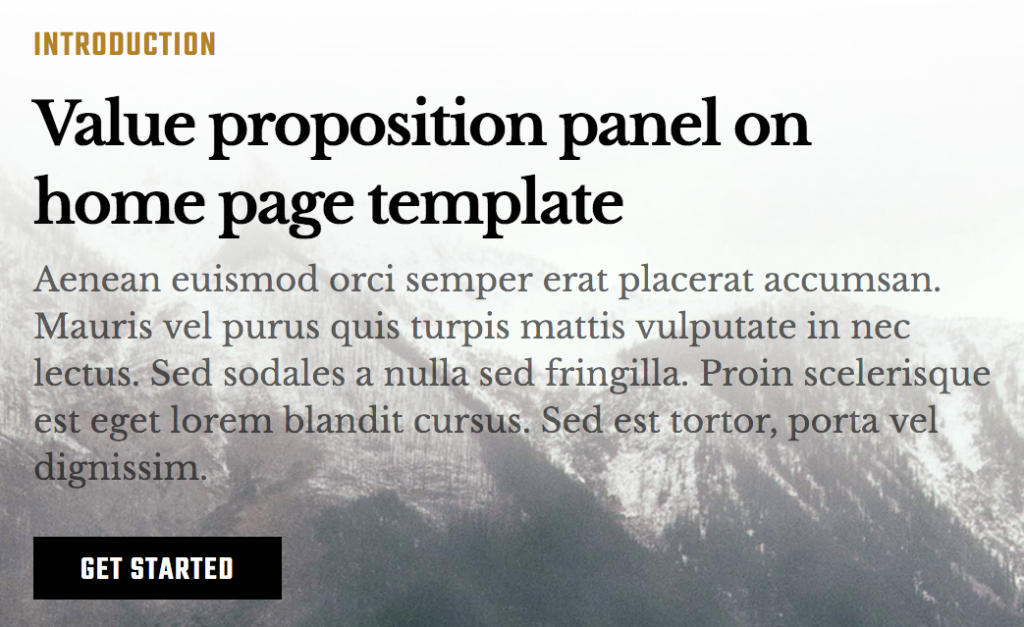
Step 2: Hero Section
The top hero section of the Belmont theme homepage pulls content from whichever page you set as the "front page" in the previous step. Here's the "front page" content we use on our demo site:<h3>Value proposition panel on home page template</h3>
Aenean euismod orci semper erat placerat accumsan. Mauris vel purus quis turpis mattis vulputate in nec lectus. Sed sodales a nulla sed fringilla. Proin scelerisque est eget lorem blandit cursus. Sed est tortor, porta vel dignissim.
<a class="button" href="#">Get Started</a>
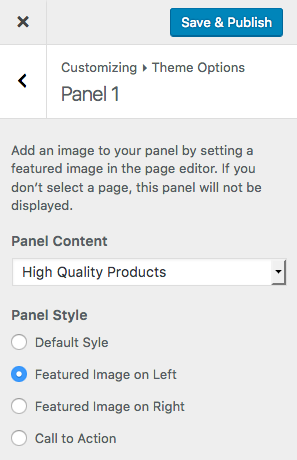
Step 3: Homepage Sections
Belmont includes five homepage sections. Note that this number does not include the hero section at the top.
Each section pulls content from an existing page on your WordPress site. These can be set in Customize → Theme Options.
In addition to selecting which page to pull content from, section style can be selected from four available options:
- Default
- Featured Image on Left
- Featured Image on Right
- Call to Action
These styles will be ignored if the page is using the Testimonials template or Grid template, which we'll cover in our "demo site homepage breakdown" below.
Panel 1: High Quality Products
The "High Quality Products" page uses the "Featured Image on Left" section style.Page Content
Aenean euismod orci semper erat placerat accumsan. Mauris vel purus quis turpis mattis vulputate in nec lectus. Sed sodales a nulla sed fringilla. Proin scelerisque.

<a href="#">View our products</a>
Featured Image
Panel 2: Grid
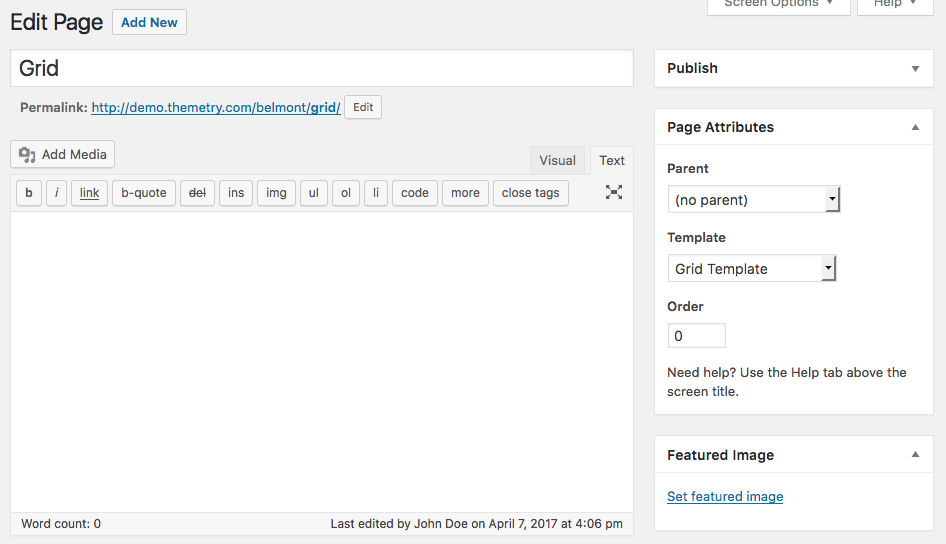
When the "Grid Template" is selected as the page template, it will pull in the content of child pages when used as a homepage section, and formats them in rows of three. Note that the page title or content of the "Grid Template" itself is not displayed on the homepage, just those of child pages. The parent page using "Grid Template" should look like this on the backend. The key is to select "Grid Template" from the list of page templates on the "Edit Page" screen.
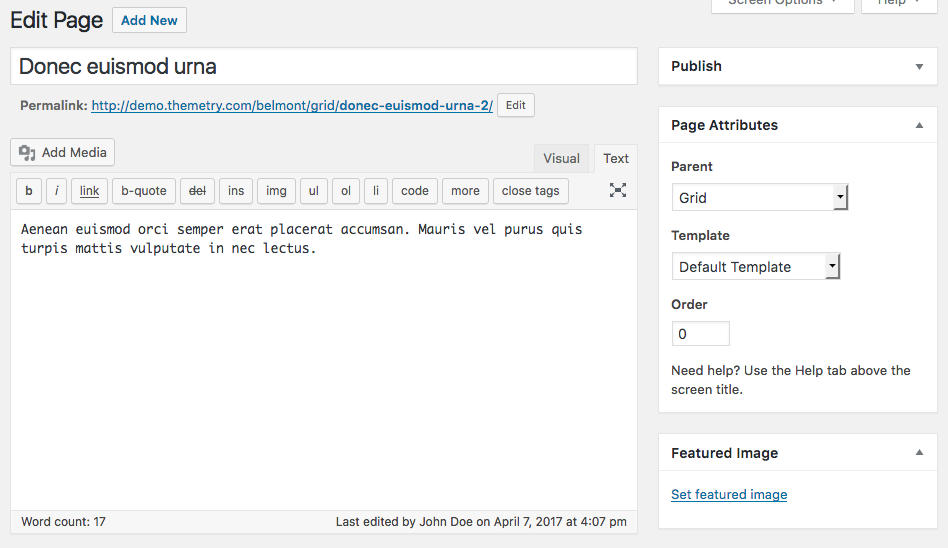
On the demo site, we just copied the same page six times. They should look like this in the backend:
Note that the "Default Template" is selected for child pages, and the "Grid" page is selected as the parent page.
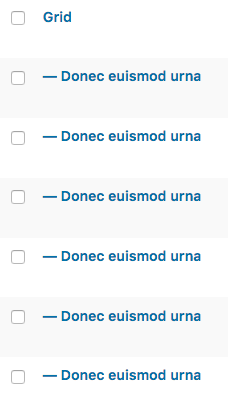
When you're done, the document tree should look like this in the backend:
Panel 3: Exceptional Service
The "Exceptional Service" page uses the "Featured Image on Right" section style.Page Content
Aenean euismod orci semper erat placerat accumsan. Mauris vel purus quis turpis mattis vulputate in nec lectus. Sed sodales a nulla sed fringilla. Proin scelerisque.

<a href="#">View our products</a>
Featured Image
Panel 4: The Best
The "The Best" page uses the "Call to Action" section style.Page Content
For the best products <em>&</em> service, contact us

<a class="button" href="#">Get Started</a>
Panel 5: Testimonials
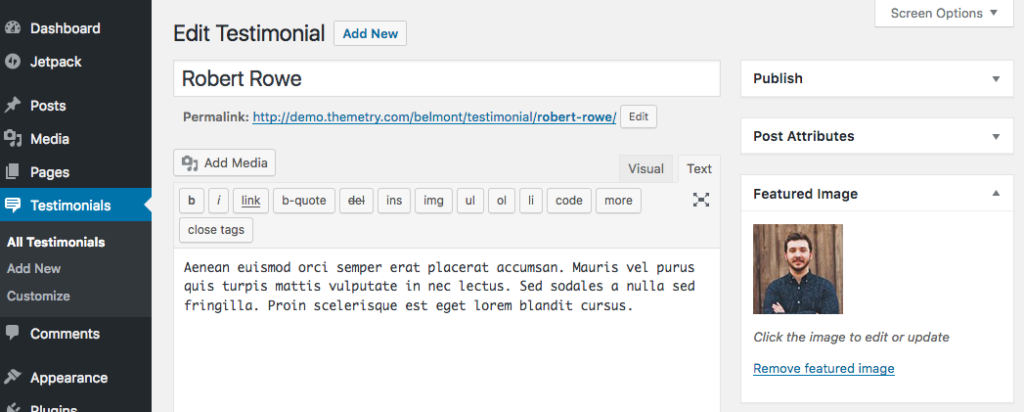
When the "Testimonials Template" is selected as the page template, it will pull in a random selection of two testimonials from the Jetpack Testimonials content type. Here's an example of what one individual testimonial looks like on the backend:
Any content on the page itself will be ignored when used as a homepage section.
Sitewide Features
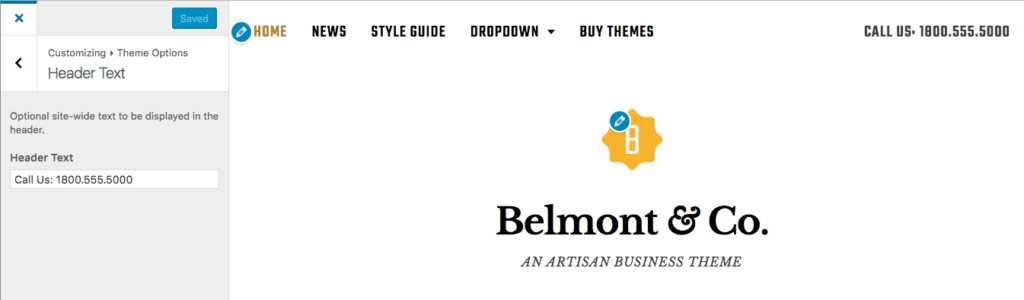
Header Text
You might have noticed a "Header Text" option under "Theme Options" in Customizer.
This is good for a tiny blurb of text, like a phone number.
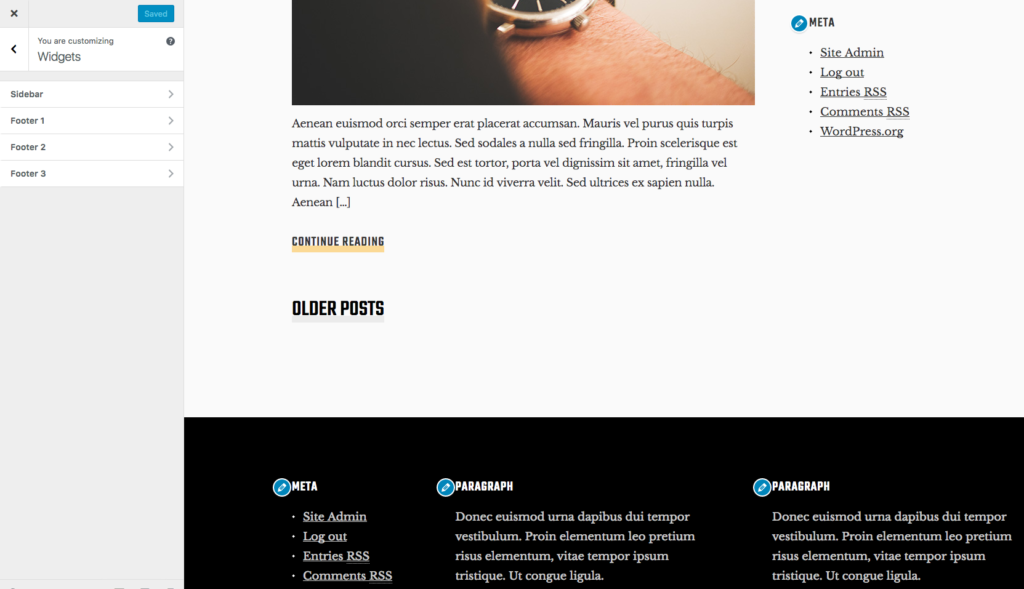
Widget Areas
Belmont features four widget areas: three in the footer, and one in the sidebar.
Note that the footer widgets are flexible, and if no sidebar widgets are present, a one column layout will be used.
Also note that the sidebar widget area is never displayed on the front page template.
Custom Logo
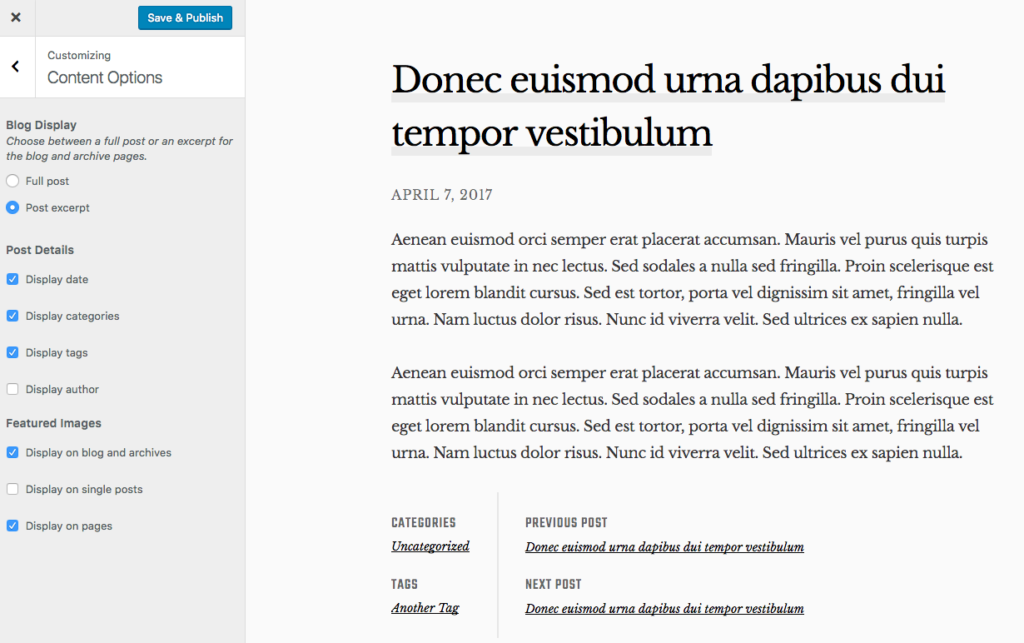
Belmont supports the core Custom Logo feature.Jetpack Content Options
Belmont supports Jetpack Content Options, which let you toggle display of things like featured images, post authors, and dates. [caption id="attachment_2644" align="aligncenter" width="760"] A single post with author and featured image not displayed.[/caption] Note that on our demo site, the "Blog Display" setting is set to "Post excerpt" and not "Full post."