Adding custom CSS to your WordPress site with a plugin
Many WordPress theme customization tasks can be effectively handled with a touch of Custom CSS.
https://www.youtube.com/watch?v=WUhFarSpTQE
video is best viewed full screen in 1080p HD
Depending on your support request, Themetry may provide you with snippets of CSS code to alter the appearance of your site, so it's important to know how to apply this code to your website simply and effectively.
There are two plugins we recommend for adding Custom CSS to your site: Jetpack and Simple Custom CSS. Both are free and available from the WordPress.org repository. You only need one.
Use Jetpack if you are already using Jetpack for one of Jetpack's other features, or plan on using one at some point in the future. It's also worth noting that Jetpack features "revisions" to Custom CSS, similar to post revisions.
We don't think you should install Jetpack just to use the Custom CSS module, but if you're already using it for something else, you might as well use it for Custom CSS too.
Use Simple Custom CSS if you have zero interest in using Jetpack, and/or are concerned with "bloat" from Custom CSS revisions being stored in your database.
 Place your Custom CSS in the box, and save.
 Place your Custom CSS in the box, and save.
Jetpack Custom CSS
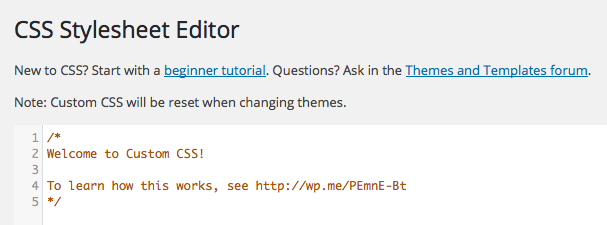
After installing Jetpack, navigate to Jetpack → Settings → Custom CSS → Activate. Once the Jetpack Custom CSS module is activated, navigate to Appearance → Edit CSS.
Place your Custom CSS in the box, and save.
Simple Custom CSS
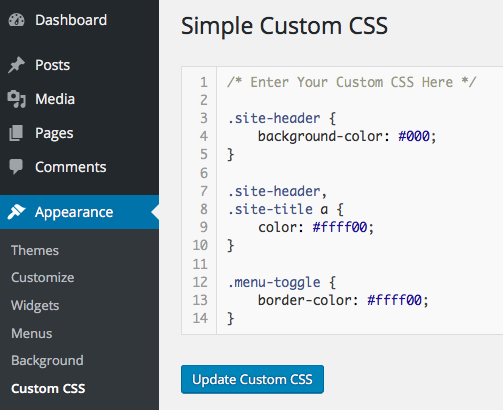
After activating Simple Custom CSS, navigate to Appearance → Custom CSS.
Place your Custom CSS in the box, and save.